So we begin with all the pieces laid out before us.

First we attach some support pieces to the spine that will later be used to mount the whole mold on a home made universal joint during lute construction. Then glue the spine and end pieces to the base.


UPDATE: A couple of things I learned during this step.
- I glued the 3 end pieces above together and then glued them onto the base & spine. This was a mistake as any misalignment of the 3 pieces will cause things to not line up well along the spine/base. Glue them onto the base/spine assembly one at a time to ensure good alignment.
- Make sure the glue is 140F while gluing!! The glue temperature had dropped a bit and one of the ribs did not glue well and came off during my chiseling later.


Then we begin adding all the supporting ribs until we end up with....
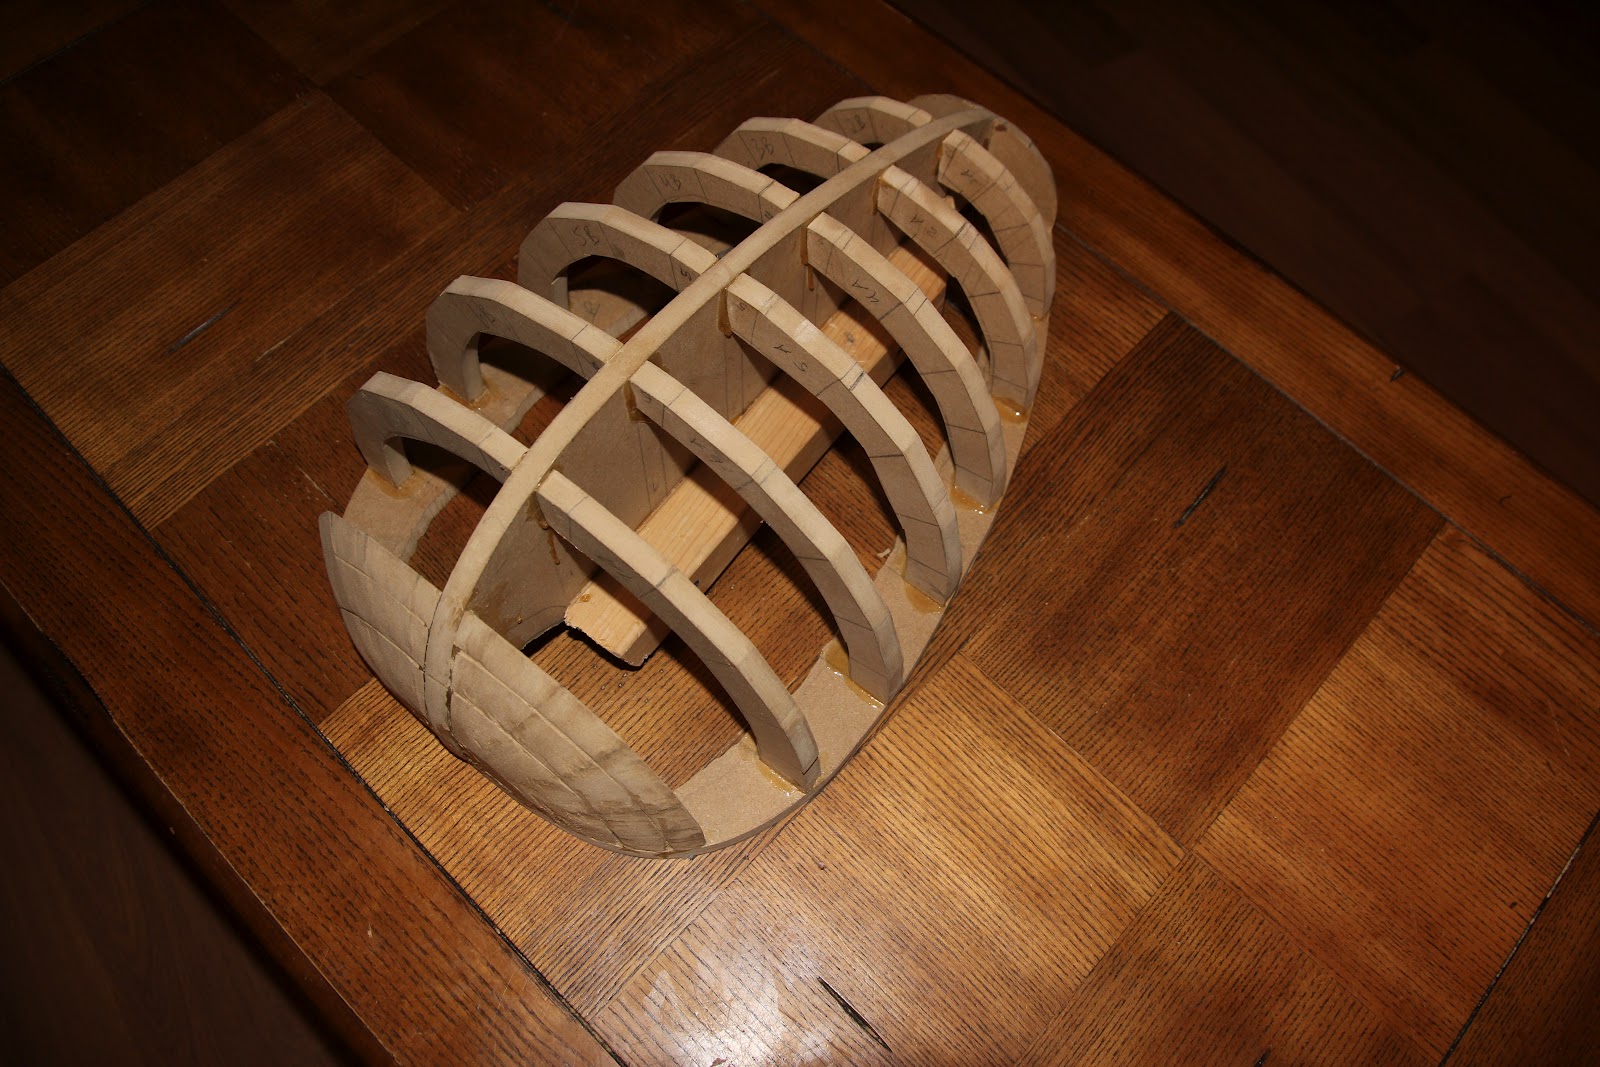

Notice the ends have now been chiseled to match the curve of the spine. I need to pay a bit more attention to this piece and make sure the 3 end pieces curve nicely while still maintaining the faceted edges the ribs will lay down on. Getting close!


No comments:
Post a Comment