Friday, September 21, 2012

A completed shell


So the endclasp is glued on and I just need to drill a hole for the peg and the the shell is complete.  Shown here clamped up and freshly glued.


 Here you can see the 'false' soundboard used to help the shell keep its proper form during construction.

And here it is with the clamps off.  Still needs some sanding and the spacer strips need to be dyed black as they lost their color during sanding.

Monday, September 17, 2012

Completing the shell


It's been a while since I've posted and I haven't gotten many pics but at this point

I've just completed getting all the ribs added and getting the endliner glued in and the glue strips inside the lute for reinforcement.


The pictures aren't the best but we have moved since my last post and I'm not setup yet to get better ones.

Next I need to add the endclasp around the outside of the lute bottom and then begin working on the soundboard!


Saturday, May 5, 2012

Gluing ribs onto the neck block

So I've got several ribs in place now....

I notice I've been planing the edges a bit much and maybe not quite forming them as well as I should.  The result is that some of the ribs are not as wide as they should be.  I will either need to make the last two ribs in each side a bit wider, or add one extra rib on each side... 


The forming gets a bit tricky as you move down the sides, there is a twist at each end that if not just right ends up requiring too much planing to get it to fit flush against the previous rib.


I haven't had the opportunity to cleanup the glue mess from the last two ribs I put on yet...

I'm forming the next two ribs now.  Still need to cut out the last 4 and shape those...getting eager to get on to the next stage of this project...

Friday, April 6, 2012

Forming the first couple of ribs

I started forming the first two ribs the other day.  It takes a bit more work than I expected, especially for the ones off center.  They have a twist in them that makes it take a little longer to get right.  Also, planing down the edges to get a good perfect fit BEFORE putting in the spacers.  But it's coming along and hopefully by the end of this weekend I can have the first 3 ribs fitted and start gluing!


As you can see, there are still some uneven gaps between these that I must correct before continuing...


Monday, March 26, 2012

Forming the Neck Block

The neck block is the first piece of wood that will become part of the instrument.  It must be carved out in a faceted form to match the end of the mold where it is attached.


Then I played with bending a piece of the rosewood to get a feel for how it works.

I need a bit more practice to smooth out the bends into a nice continuous curve but I'm getting close and should start putting the first ribs in place sometime over the next week!

Sunday, February 26, 2012

Making a couple of tools

Well I've been sick for a couple of weeks so I haven't made any progress on the lute.  I hope to carve up the neck block over the next week so I can begin on the body soon after.  In the mean time I've worked on putting together a couple of the tools I'll need for the next steps.  I figured I'd post some pics of these home made tools for anyone curious.

First, some sort of holding device for the mold makes working much more convenient so a universal joint that allows it to be positioned at any angle was constructed.  The plans for creating this are part of the kit obtained at the website listed in the initial post.


DISCLAIMER:  If you aren't comfortable or knowledgeable about working with electricity do not attempt this but instead buy an already assembled bending iron.

For bending the ribs to conform to the shape of the mold a bending iron is needed to get the wood hot enough to break down.  I built this from an electric charcoal starter with the element squashed down enough to fit inside of a 2" steel pipe very tightly.  I then mounted this onto a fence post with spacers so the pipe wasn't resting on the wood.  I added a sliding dimmer switch so I could control the temperature and that's it.  This thing takes a long time to cool off after use so be careful to give plenty of cool off time before handling.

Friday, February 10, 2012

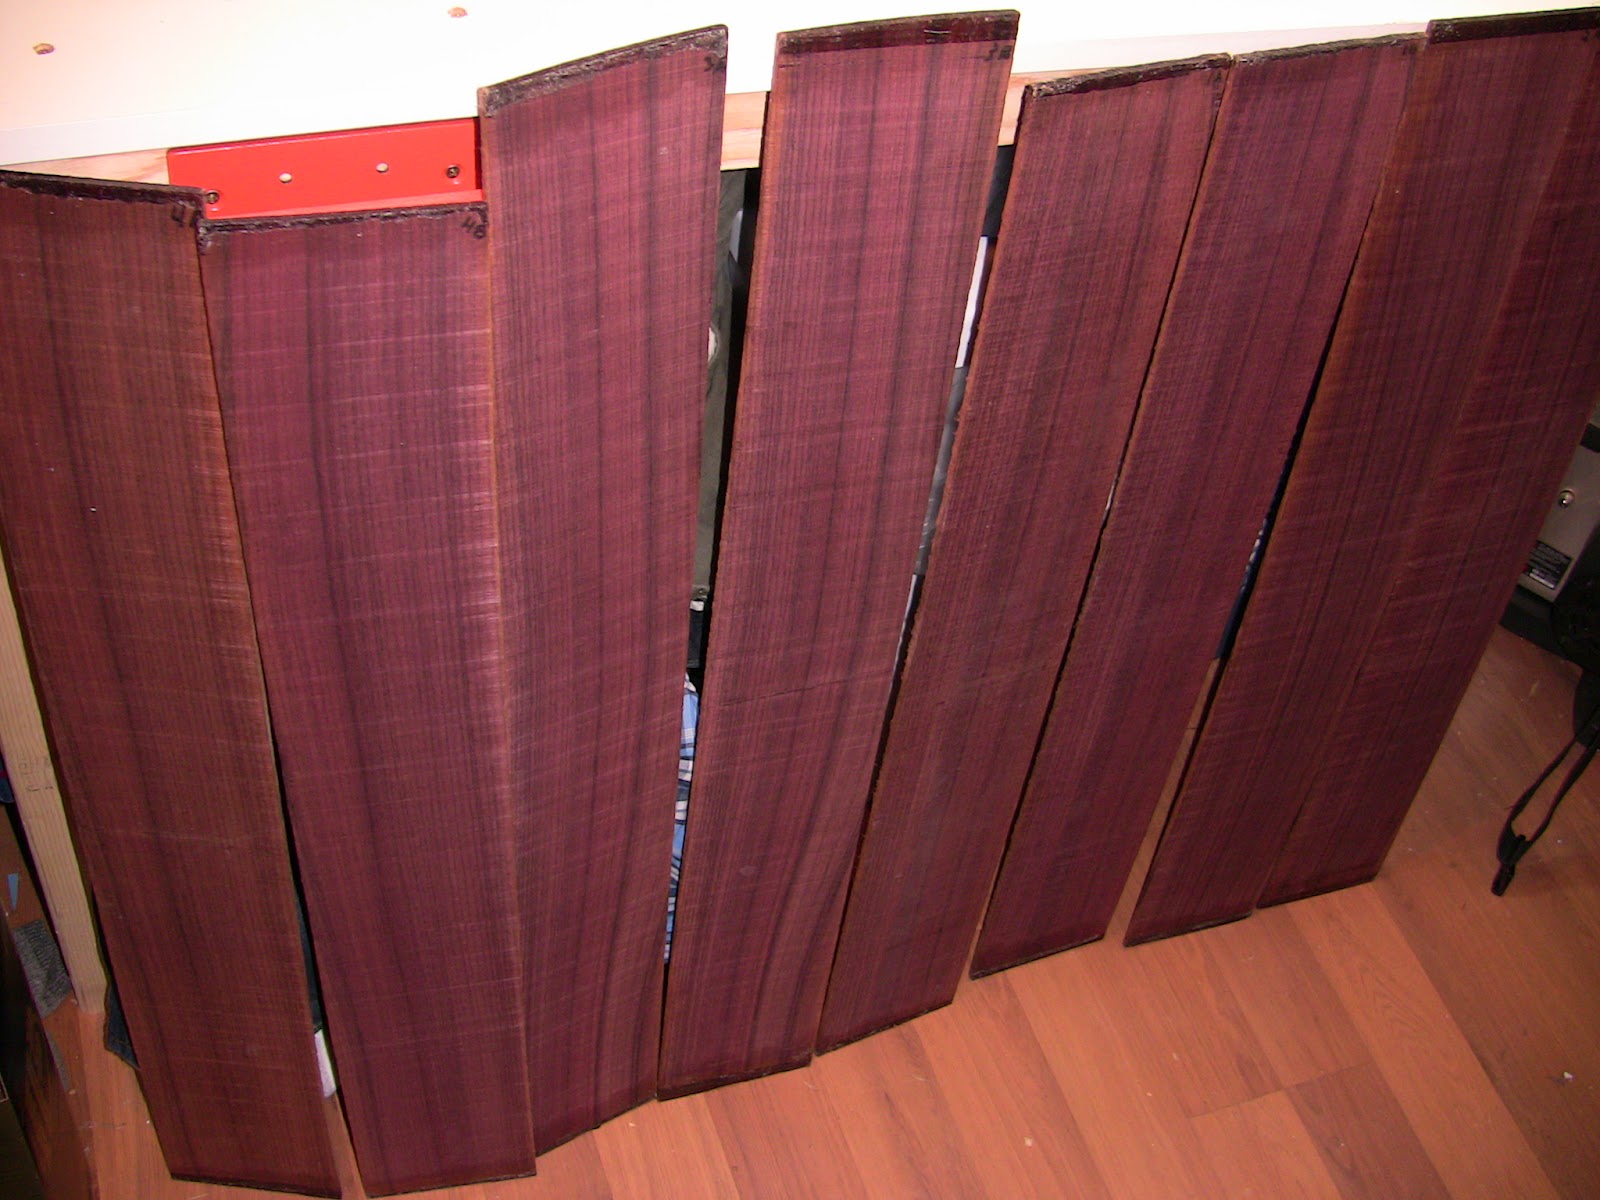
An eagerly awaited delivery.

I'm all grins :) ... the rosewood for the back of the lute came today!  Gotta get busy planing these down smooth.  They are rough cut at 4mm thick and need to be smoothed down to just under 2mm.  Then I can trace the patterns on and cut them out!