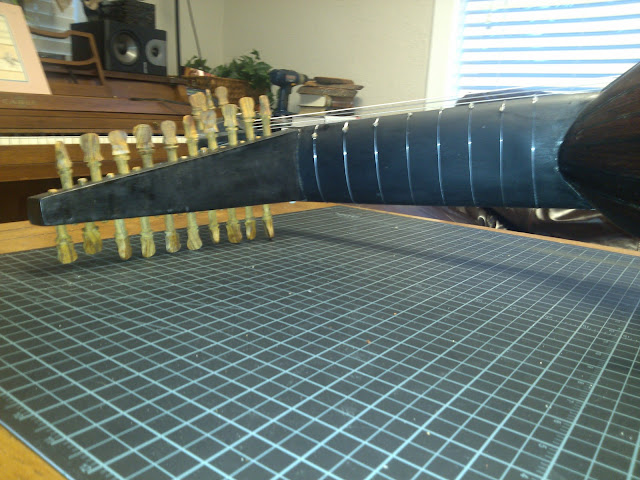
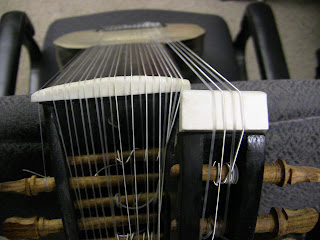
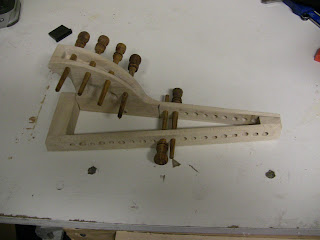
I've now tied the frets and glued on the small frets on the body. Here are some pics of the finished lute.
Now that I have a playable instrument (whew!) I can spend more time focusing on details and making a nice instrument with the foresight I've gained from this project.
I have already selected the woods for the shell of the next lute. It will not have spacers between the ribs but will have alternating zebra wood and wenge (pictured below). I also plan on using the extended pegbox design instead of a bass rider for this instrument. I will keep a much more detailed blog on the progress of that instrument.
Building a Baroque 13-course lute
Monday, December 17, 2012
Saturday, December 8, 2012
Finishing pegs and stringing up
I have finished turning all the pegs and fitting them to their proper spots. The nuts have been completed and strings have been put on. It will take several days for the strings to stretch out and keep tune but so far it seems to be working well. Just need to add the frets which will be the last post, coming soon...
Some photos.
Need to clip the excess off these strings.
Some photos.
Need to clip the excess off these strings.
Monday, November 26, 2012
Gluing on the fingerboard
The fingerboard has been glued on. It is made from a hard rock maple and dyed ebony black. It looks quite good with the dye and I'm now working on trimming and shaping the bone nut.
Gluing on the soundboard and trimming.
So now the soundboard has been glued on the shell. This proved to be a bit more difficult than I had expected, mainly because the soundboard is cut out a bit oversize and trimmed after gluing. I guess I made my overhang a bit too much as the stress from the tapes holding it in place caused it to crack in two places. I believe it is still structurally sound as the cracks are right near the edges and I applied enough glue to fill in and re-glue those cracks. Overall I learned a lot from this step and am OK with how it is turning out.
Here it is cut ready for the fingerboard and fingerboard points but not yet trimmed.
Here is a closeup with soundboard trimmed. You can also just see one of the cracks at the lower left.
The whole soundboard with trim. It is starting to look like a real instrument! I'm not far from needing strings!
Here it is cut ready for the fingerboard and fingerboard points but not yet trimmed.
Here is a closeup with soundboard trimmed. You can also just see one of the cracks at the lower left.
The whole soundboard with trim. It is starting to look like a real instrument! I'm not far from needing strings!
Saturday, October 20, 2012
Creating the pegbox and bass rider
So I've fashioned the pegbox and rider out of the same hard maple used for the neck carving. While this is nice wood, I plan to dye it black with an oil based ebony stain as it should look really good with the rosewood.
Here is the beginnings of the pegbox...
And now I'm getting some pegs turned on the lathe. Pegs are made from cocobolo
Here is the beginnings of the pegbox...
And now I'm getting some pegs turned on the lathe. Pegs are made from cocobolo
Carving the neck
So I've moved on and created the neck and glued it onto the shell. I haven't retrieved the pictures from my camera yet but will post them shortly.
Next up is the pegbox and rider.
Next up is the pegbox and rider.
Sunday, September 30, 2012
Creating the soundboard
This soundboard is made from Englemann Spruce. I did not get as good of a seam when joining the two halves together as I would have liked as the glue gelled on me very quickly. I think it will hold fine it is just a bit unsightly. I didn't get any pictures of this step before cutting out the shape and the rosette.
 |
| Here is a bit of a closer shot. |
 |
| Now gluing on the bars a couple at a time. |
 |
| Then setting weights on them to get a good fit. |
 |
| All bars are in place and trimming has begun! |
 |
| The trimmed bars completed! |
 |
| A closeup of the rosette support. |
 |
| Closeup of the trimmed bars at the bottom end. |
Subscribe to:
Comments (Atom)


